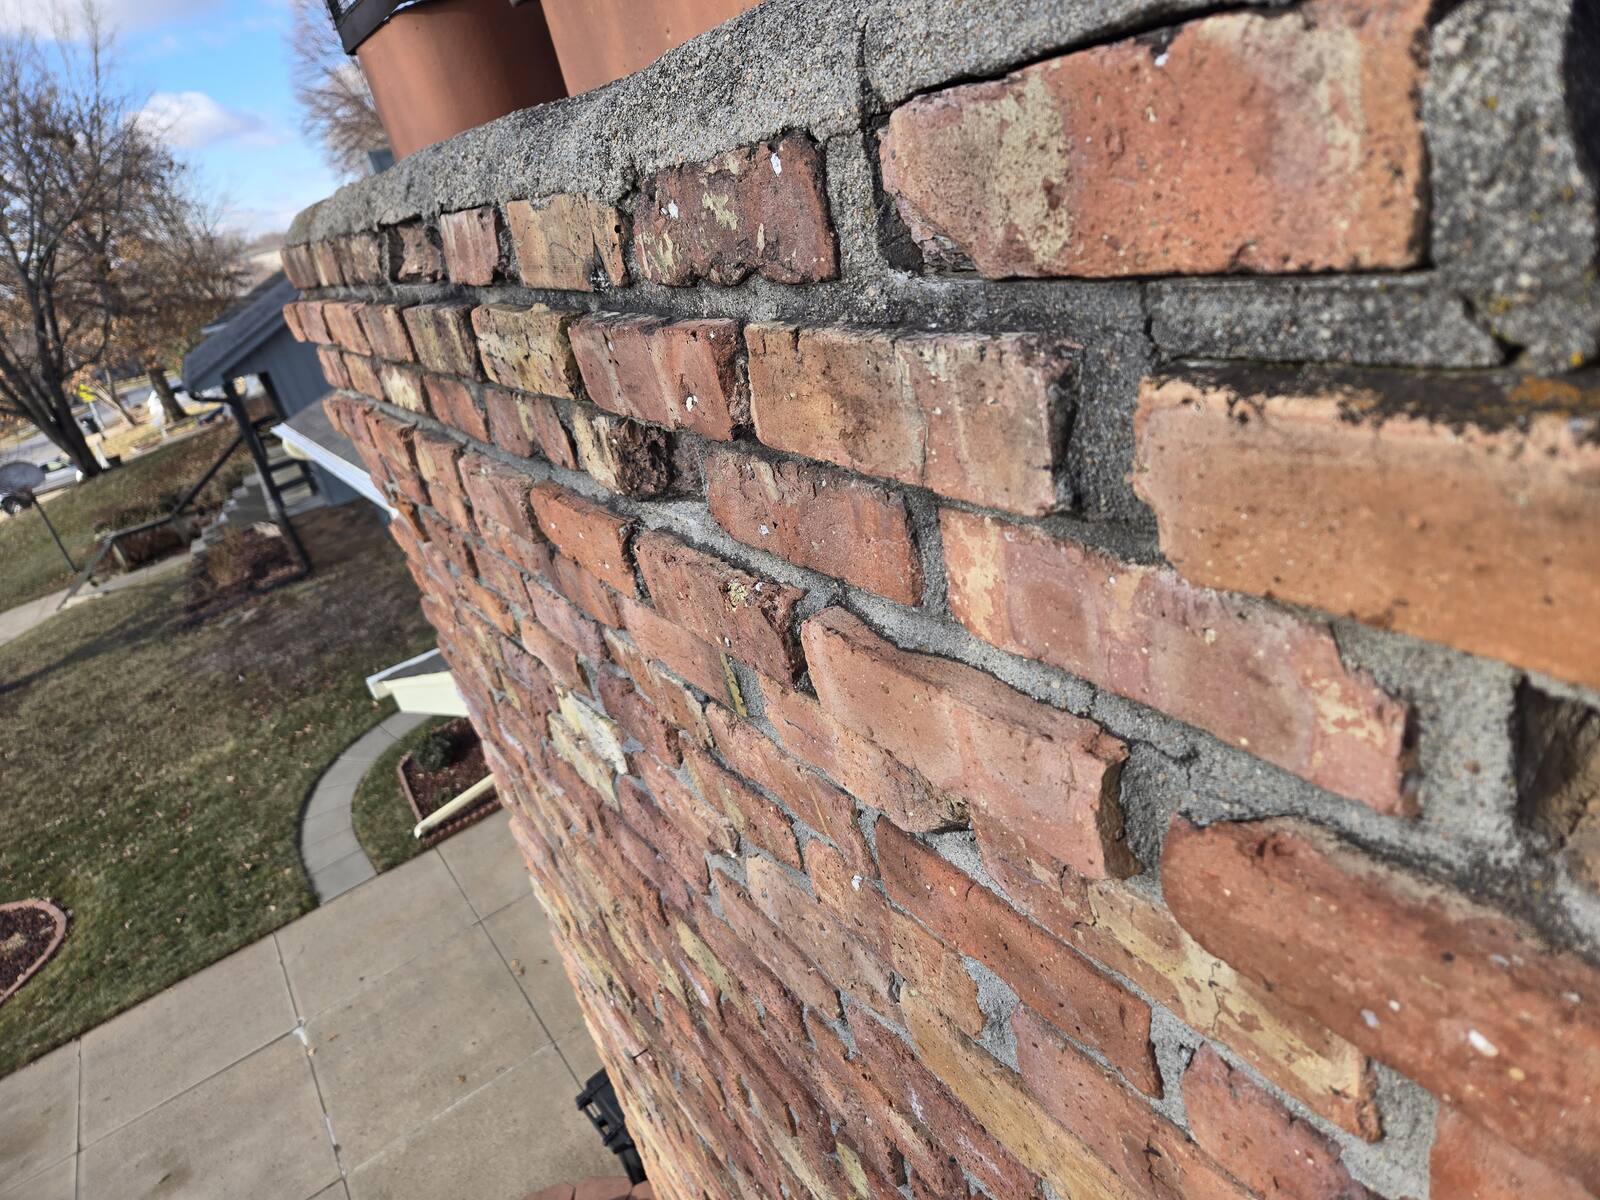
A proper stone veneer repair rebuilds what is behind the stone, not just the stone itself. On the newer homes around Gretna, the stone almost never fails on its own. It comes off because the layers underneath it were built wrong or left out, and until those layers are rebuilt, anything you put back on the wall is temporary.
That is the whole difference between a repair that holds and a repair that has to be done again. Here is what the work actually involves, stage by stage, so you know what you are buying and what to ask another contractor about.
What is supposed to be behind the stone
Manufactured stone veneer is not structural. It is a thin facing that hangs on the wall, and it depends entirely on an assembly behind it to keep water out and to hold the weight.
That assembly is supposed to include a weather resistant barrier against the sheathing, metal lath fastened through to the framing, and a scratch coat of mortar pressed into the lath. The stone is then set into a mortar bed on that scratch coat. Water that gets behind the stone, and some always does, is supposed to run down the barrier and out at the bottom rather than soaking into the wall.
On a lot of the veneer we open up in the western suburbs, one or more of those layers is missing. Stone set straight onto sheathing or onto foam. No lath. No barrier. No drainage path at the bottom. Our post on why stone veneer falls off newer Omaha homes goes into how that happens.
What a rebuild involves
Finding the real extent first
The visible damage is almost never the whole of it. Stones fall where gravity and water concentrate, usually at the bottom of a wall or under a window, but the failed backing usually runs well past that.
So the first thing we do is sound the wall and check the area around the loss, not just the hole. Hollow spots, stones that move under hand pressure, staining, and any softness in the sheathing all extend the working area. Quoting a repair off a photograph of the hole is how a job doubles in size after it starts.
Removing back to something sound
Removal continues until we reach backing that is genuinely intact. That is a judgment made on the wall rather than a measurement, and it is the step most often cut short, because stopping early makes the job look smaller and cheaper on the day.
Stopping early also guarantees the new work is bonded to something that is already failing. The new section holds for a season or two and then lets go at the seam.
Rebuilding the water layers
This is the part nobody sees and the part that decides everything. The weather resistant barrier goes back in, lapped correctly so water runs down and out rather than into a seam. Flashing and any drainage detail at the bottom of the wall gets built so there is somewhere for water to leave.
If the failure started at a window head, a deck ledger, a roof line or a transition between materials, that detail gets addressed too. Repairing the field of the wall and leaving the detail that soaked it is how a repair fails in the same place.
Lath and scratch coat
Metal lath gets fastened through the sheathing into framing, not simply stapled to the surface, and the scratch coat is pressed into it and scratched to give the setting mortar something to key into. This is where the wall gets its mechanical hold. Stone stuck to a smooth surface with adhesive has no mechanical hold at all, which is why it comes off in sheets.
Setting and pointing the stone
Stone is set into a full mortar bed, not spot bonded. Joints are pointed and tooled to match the existing wall, because joint width and joint profile change how a wall reads from the street as much as the stone color does.
Making the repair disappear
Matching a repair into an existing wall is a real skill and it is the part homeowners worry about most. Manufactured stone is colored during production, the color varies by run, and a wall that has been up for a decade has weathered besides.
We color match stone as part of veneer repair work, using techniques we learned directly from a manufacturer's field representative on a job in Bennington. The practical version for you as a homeowner is this. Ask any contractor how they intend to handle the blend before work starts, and ask to see the transition on a finished job. A repair that reads as a rectangle of newer stone is a repair that will be visible in every photograph of the house from now on.
Why the glue and patch version keeps failing
The cheap repair is to stick the fallen stones back on with adhesive. It is fast, it looks fine for a few months, and it fails because nothing about the underlying problem changed.
Water still gets behind the wall. There is still no path for it to leave. Winter still freezes what is trapped in there. The patch comes off, usually taking a little more of the surrounding wall with it, and the next repair is larger than the first one would have been. We wrote about that pattern in why patch repairs on stone veneer fail.
Timing it in Gretna
Mortar needs temperatures above freezing to cure properly, so veneer work has a season in eastern Nebraska. Fall is the practical deadline for getting an open wall closed before the freeze and thaw cycling starts working on whatever is exposed.
If stones are already down and the backing is open to weather, that is not something to leave until spring. An open wall takes water all winter, and the repair you were quoted in October is a bigger repair in April.
Frequently Asked Questions
Can you repair just the section that fell, or does the whole wall have to come off?
Usually just a section, extended out to sound backing. Whole wall removal is occasionally the right answer when the barrier and lath were left out across the entire elevation, but that is a conclusion we reach after opening the wall, not before. A contractor who quotes either extreme without looking behind the stone is guessing.
How do I know if my veneer has a problem before stones start falling?
Look at the bottom of the walls and under the windows. Stepped cracking in the joints, staining that runs, a chalky white deposit, stones that sound hollow when tapped, or any stone that shifts under hand pressure are all early signals. Catching it at that stage keeps the repair small.
Will the repair match the rest of the house?
That is the goal and it is a normal part of the work rather than an extra. Matching involves the stone itself, the joint width, the joint tooling and the mortar color. Weathered walls make it harder, which is why we look at the wall in daylight before committing to an approach.
Is this covered by my builder warranty or my homeowners insurance?
It depends entirely on your policy and on how old the home is, so check with your carrier and your builder rather than assuming either way. What helps is documentation. Photograph the damage, keep dates, and get the cause written down, because a claim usually turns on whether the failure was installation or an event.
Do you work in Gretna?
Yes. Gretna, Elkhorn and Bennington are where most of our stone veneer repair work is, because that is where this style of construction is concentrated. You can see more on our Gretna service area page.
If stones are coming off your house or you want an honest read on what is behind the veneer before it gets worse, we will come look at it and tell you what we find. See finished work in our project photos, read more about stone veneer repair, or reach us through our contact page.